
|
Last Site Update: April 30th, 2026 | Latest Version: 13.1.0 |
|
|
|
|
|
|
|
|
|
|
|
|
|
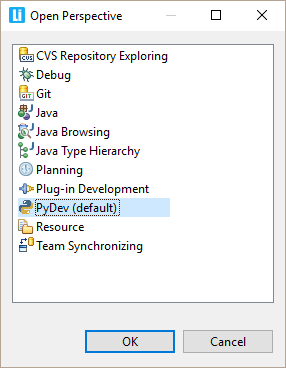
Creating our first module (now that the interpreter and the project are already configured). To make things easier, make sure that you are in the PyDev perspective – it is automatically opened when you create a PyDev project, but just in case, you can open it by going to the menu: Window > Perspective > Open Perspective > Other ... > PyDev, as pointed in the picture below.
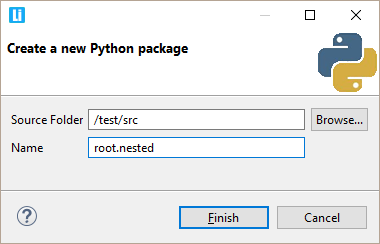
First, we will start creating a new package in a project named 'test' (it was created with the default 'src' folder, and all the code should be put underneath it). So, let the 'src' folder selected and go to the menu: File > New > PyDev package (or Alt+Shift+N, A) and fill the package name as below (the source folder should be automatically filled)..
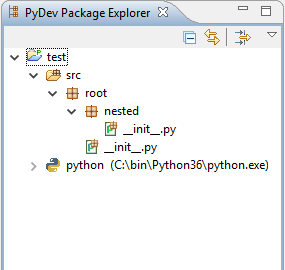
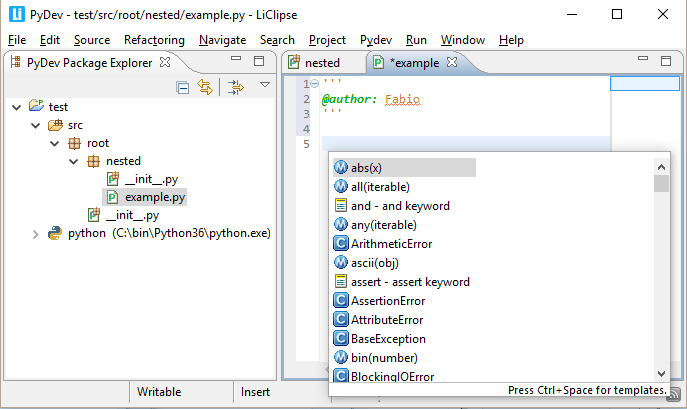
Note: Check to see if the 'P' icon is appearing for your items (as in the picture below) and in the top of your editor after opening it. If it's not appearing, it may be that there's a problem with the file association, so, go to Window > Preferences > General > Editors > File Associations and make sure that the .py files are associated with the Python Editor (note that because of an eclipse bug, if it seems correct, you may have to remove the association and add it again)
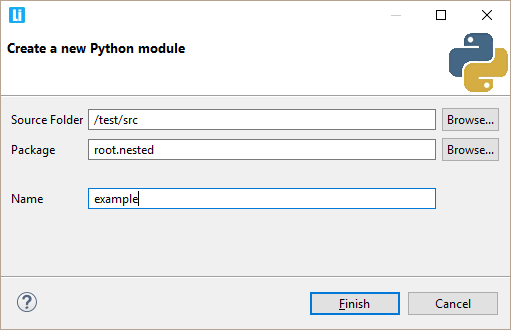
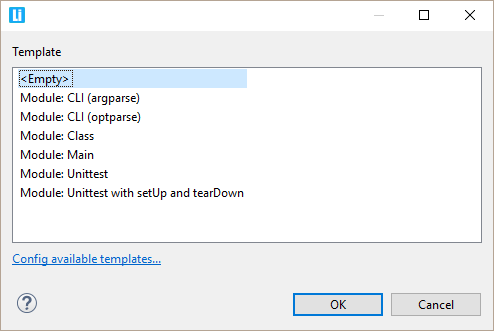
After you press Finish, a new dialog with which module template should be used to create the module will be shown (and the Config available templates... link in the dialog can take you to the place where you can add/remove/edit those - which are the templates under the New Module context.
NOTE FOR JYTHON USERS: If you are in jython, the first activation might take a while. This usually happens when jython has to do the processing of new jars. The next time you start it, if it takes the same time, it could be that your jython 'cache-dir' is not writable, so, you can create a script with the code below to see where is the cache dir and check its permissions (or if there is no permission problem, you can try deleting the dir and seeing if it gets correctly recreated in the next jython activation). Code: import sys
print(sys.cachedir)
|
PyDev developmentPyDev is open source and depends on your contributions! This may be in the form of bug fixes, answers on stackoverflow, new features...Another option is financially supporting it at: Patreon (which provides a way to support it monthly and get rewards starting with $1). 
Or through 1-time contributions at: Paypal 

Search PyDev-related content |
|
|
|
|
Copyright: Brainwy Software Ltda, 2014-2025 |